
Pick each fixture by the job it has to do: general light for the room, task light over the counters, or accent light for a backsplash.
No single fixture does all 3. A chandelier won’t reliably light a cutting board, and a ceiling light alone leaves counters uncovered, so plan layers, with about 4000K where you work.
1. Island Lighting
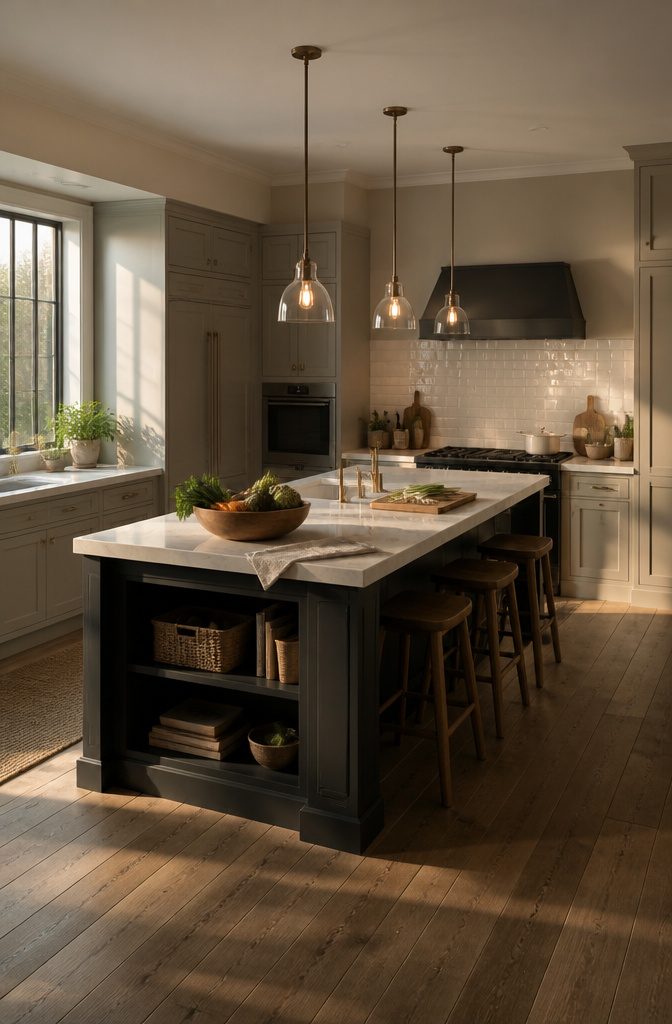
Island lighting is a placement category, not a fixture type.
It covers whatever hangs above a kitchen island or peninsula, so pendants, and other styles too, can fill the spot. This entry is about where the light goes.
That position does two jobs. The light lands directly on the surface where you chop, prep and cook, which makes it focused task lighting.
It also sits in the middle of the room at eye level, so the fixture you choose becomes the main decorative feature of the kitchen.
Choose island fixtures for the work they do over the counter first, and for their looks second. A fixture that photographs well but leaves the prep surface dim will frustrate you every time you cook.
Recommended Products

Downrod Stiff Poles for black pendant light - this modern pendant light come with threaded straight rods in multiple lengths.Multiple Stems Rods 3 Units 12 Inch 3 Units 4 Inch.And tilting swivel canopy for flat, vaulted or sloped ceilings up to 54" high.
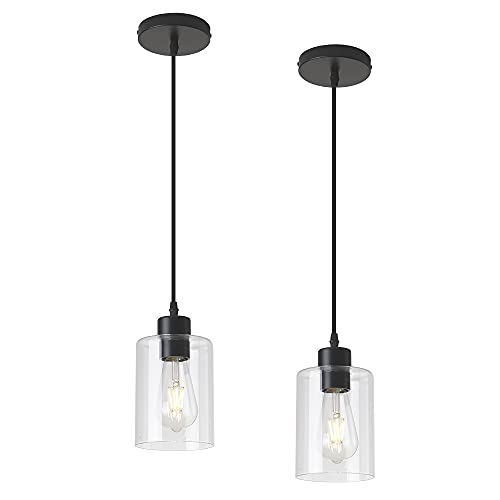
Note sold by KLSS is original design◆DIMMABLE AND WORKS WITH MOST BULBS - Fully dimmable when used with a dimmable bulb and compatible dimmer switch. Uses medium base bulbs including LED, CFL, Halogen and Edison bulbs, compatible with most smart bulbs

【Handcrafted Glass & Premium Materials】This pendant light fixture features a hand-blown glass lampshade with a vintage striped design, creating a soft, warm glow and elegant light diffusion. Crafted with thick glass, rust-proof brushed metal, and insulated leather-wrapped wires for durability and a premium look. Glass color may appear different when the light is on, depending on bulb type and brightness. Ideal for pendant lights kitchen island or dining areas.
2. Pendant Lights
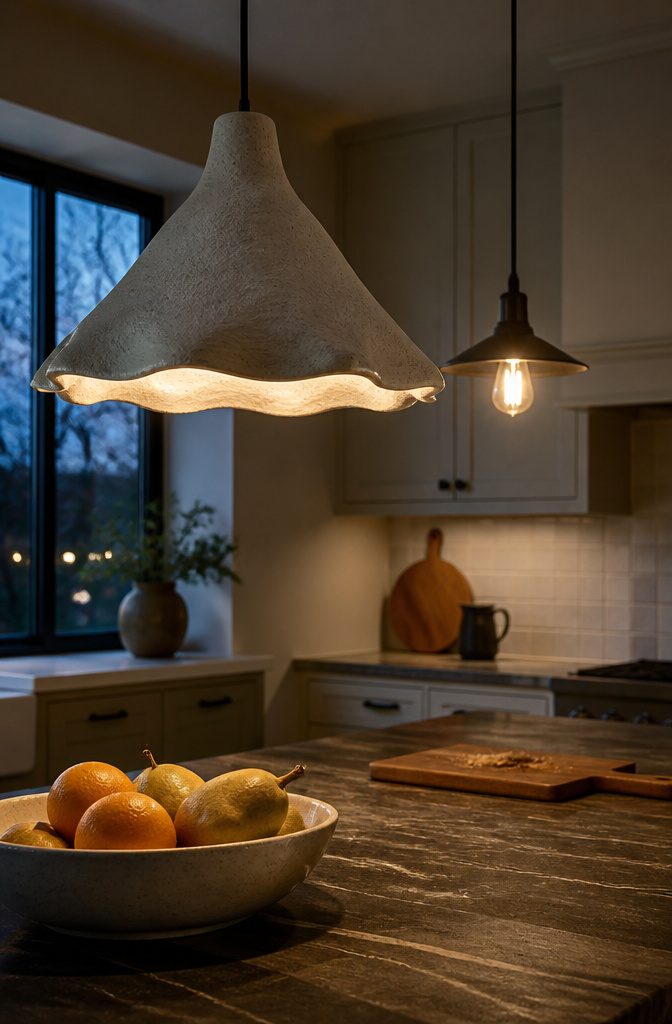
Pendants hang from the ceiling and put focused light on whatever sits below, whether that’s a countertop or a dining table. They come in many shapes, sizes, and styles, so the fixture can double as decoration.
Statement pendants, with bold shapes or artisan-made details, are the current favorite.
They work as a focal point, so choose one standout style and keep the rest of the kitchen’s finishes quiet. Two competing showpieces fight each other.
Industrial exposed-bulb pendants give a more urban look and cost less in visual weight, since there’s no big shade to dominate the room.
The bare bulb is also the brightest thing in your sightline, so pick a warm bulb and put it on a dimmer.
Recommended Products
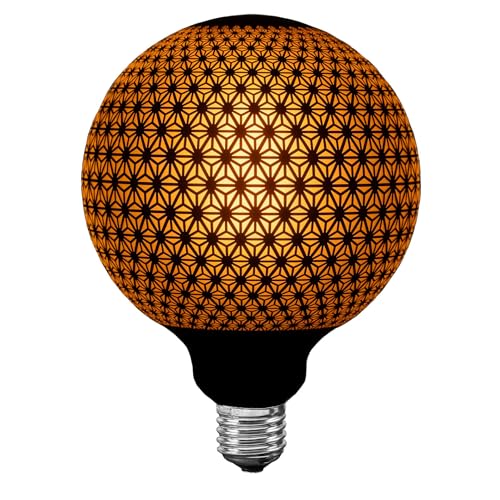
Elegant G125 Ritz-Style Design: Oversized decorative globe bulb with a sophisticated Ritz-inspired silhouette and matte black finish—ideal for statement lighting in pendants, table lamps, and covered outdoor string lights.

Vintage Fancy Reimagined: Step back into the golden age of design. This isn't just a light bulb; it's a piece of history reinvented. The intricate gold mesh cage evokes the elegance of Art Deco and 1920s glamour, offering a sophisticated alternative to standard exposed bulbs. Perfect for those curating an Fancy cozy or Vintage inspired interior.

KOR K23192-4 Pack of 4 Units 4.5W LED filament globe light bulbs with an E26 (Medium) base that replace 40 watt incandescent G25 clear bulbs. With a 2700K color temperature and a 90+ CRI the G25 LED bulb creates a soft white / warm white glow to create a soft and warm white ambiance.
3. Mini Pendants
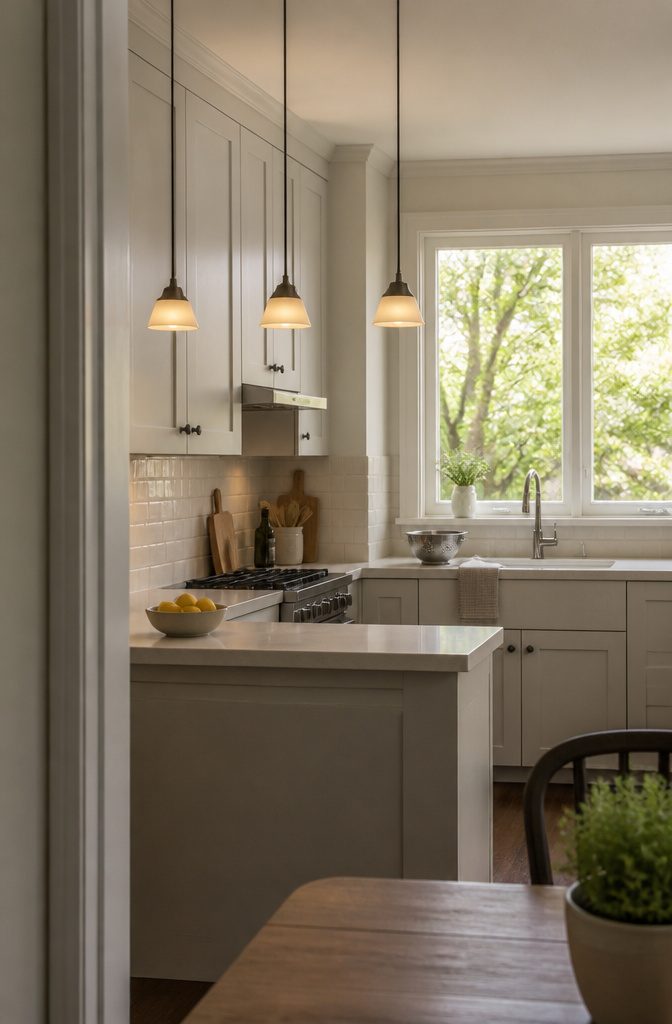
Mini pendants are scaled-down versions of the traditional pendant, with the same look at a smaller size.
They fit better than full-size pendants in a compact kitchen, where a large shade can crowd the room and block sight lines. They also suit kitchens that already have enough light from other fixtures and only need a gentle accent.
In a small kitchen, choose mini pendants over a single oversized one. The style stays the same, and the light feels subtle instead of dominating the space.
Recommended Products

PS: This mini glass light shade fixture is Handblown unique pattern art glass, due to its hand-made nature, each piece of blown glass will vary in color and pattern.The Bubble is the nature of Handblown glass shade The electric wire(cord) will straighten out naturally after being hung for a week.

Unique Art Glass Patterns:This mini glass pendant light fixture is Hand-blown unique abstract blue pattern Art glass, due to its hand-made nature, each piece of blown glass will vary in color and pattern.

Downrod Stiff Poles for brushed nickel pendant light - this modern pendant light come with threaded straight rods in multiple lengths 3 Units 12 Inch 3 Units 4 Inch And tilting swivel canopy for flat, vaulted or sloped ceilings up to 54" high.
4. Ceiling Lights
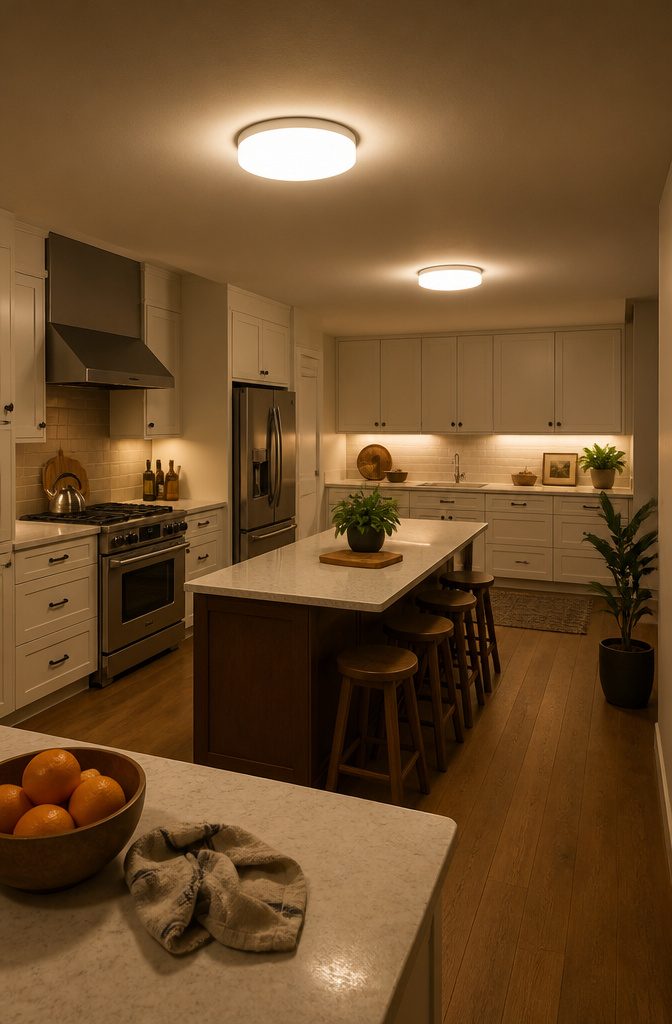
Ceiling lights mount directly to the ceiling and form the base layer of light in most kitchens.
Flush-mount fixtures sit tight against the ceiling, while semi-flush mounts drop a little below it. Both spread light evenly across the room, which is the job of general lighting.
A large kitchen often needs more than one fixture, because a single light in the middle leaves the corners dim.
Choose LED bulbs rated 2700–3000 Kelvin for a warm, inviting glow, and add a dimmer switch so the same fixture works for chopping vegetables and for a quiet dinner.
Counters still need their own task lighting, since a ceiling fixture alone won’t cover them.
Recommended Products

3CCT Selectable Color Temperature: Select your preferred color temperature via the toggle switch on the fixture before mounting. Three preset tones are available: 3000K Bright White, 4000K Cool White, and 5000K Daylight. This fixture requires hardwiring to a standard ceiling J-Box (sold separately). Once installed, it works only with a regular ON/OFF wall switch for basic on/off control. Recommended for flat ceilings with pre-installed junction boxes.

Unique Design: Tired of the common ceiling light? this is the one you need to own! This semi flush mount ceiling light fixture can cast a beautiful shadow on the ceiling when it's on

【Mid Century Vintage Charm】Blending old-world character with modern home elegance, the textured glass shade and warm finish upgrade plain builder-grade lighting. Made for house renovation, DIY decorators, and anyone wanting warm, nostalgic style over a basic light. Perfect for hallways, foyers, kitchens, laundry rooms, pantries, closets, nurseries, bathrooms, and dining areas
5. Chandeliers
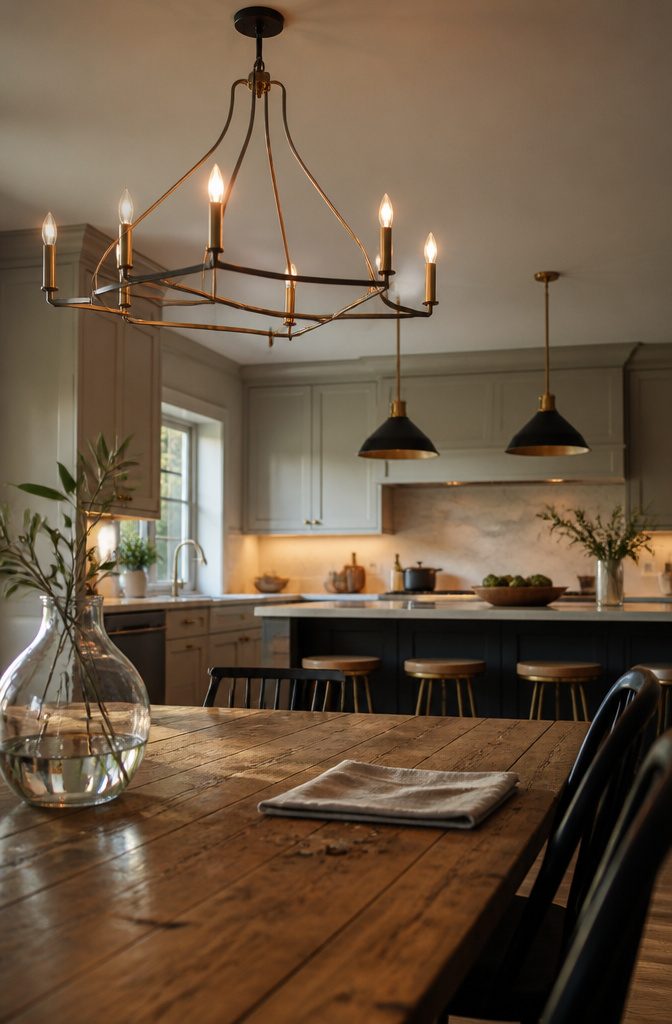
Chandeliers began in formal dining rooms and now work in kitchens too, in styles that run from sleek and contemporary to classic. They add a level of sophistication and glamour that a flush-mount ceiling light can’t.
Finish is where you can match current taste.
Mixed metals, such as brushed nickel with matte black or brass with chrome, add depth and dimension. That also gives you room if your faucet and cabinet hardware are different metals.
Treat a chandelier as a decorative pick before a work light.
It won’t reliably light a cutting board or cooktop, so plan task lighting separately. Use the chandelier to set the look over a dining nook or open floor space.
Recommended Products
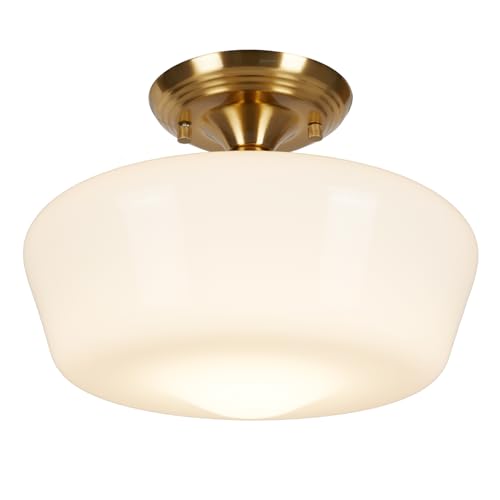
High Quality: Our semi-flush mount ceiling light features have opal milk glass shade and brass cover, offering durability and elegance. Dimensions are as follows: Shade - 11.8 inches (Diameter) x 5.5 inches (Height); Total Height - 8.9 inches. Enjoy luxury and durability in one beautiful design.

【4-Light Design– High Illumination for Large Space】 Brighten your space with 16” oversized lamp and four standard E26 sockets (max 60W in total) that deliver exceptional light output compared to standard 2 or 3-light fixtures. This semi-flush mount adapts effortlessly to both daily ambient lighting and focused task brightness. The open design enhances light dispersion while allowing heat to escape, helping to maintain bulb performance

Modern Farmhouse: The iron frame, matte black finish and clear glass shades of the ceiling light combine to create a modern farmhouse design.
6. Track Lighting
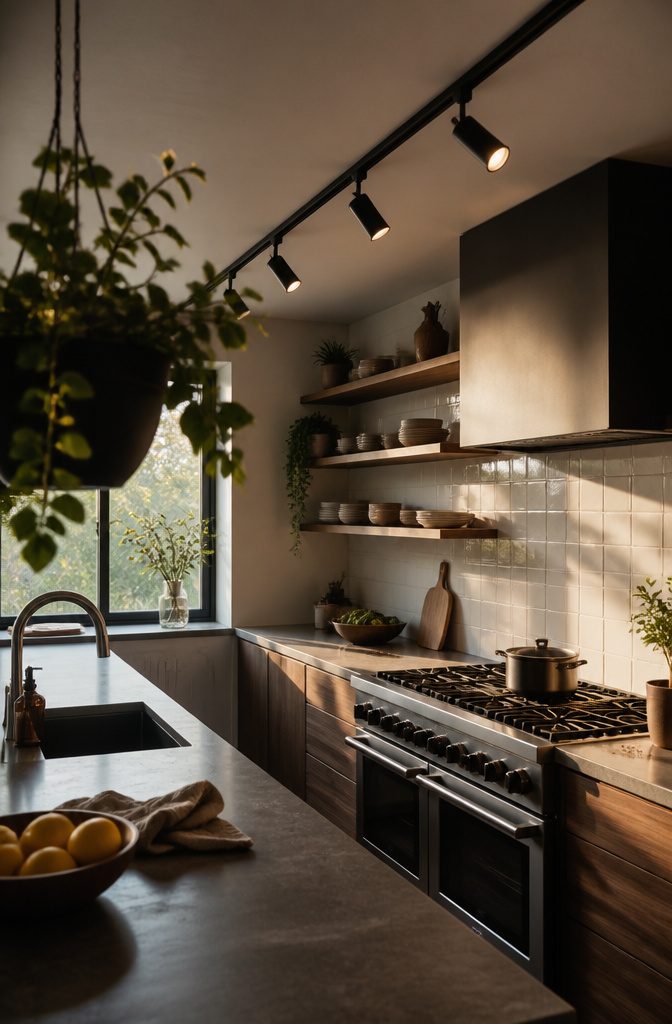
Track lighting mounts a series of adjustable fixtures on a single track, and each head can be aimed on its own.
Point one at the counter where you chop, another at the range, and a third at a feature you want noticed, such as a tile backsplash or open shelving.
That makes it useful for both task lighting and accent lighting in the same kitchen. If you rearrange the room or change what sits on a counter, you swivel the heads instead of rewiring anything.
A fixed fixture can’t be redirected that way, which is why track lighting is a good pick for a kitchen where the work zones are spread out or likely to change.
Recommended Products

👍【FSC Certified Solid Wood】In an era saturated with plastic products, we choose to return to nature and embrace a sustainable lifestyle.There is no exactly the same wood grain in the world, each lamp is a unique individual, retain the breath of nature, retain the pure natural wood grain. All our wood is sourced from internationally certified legal forests by FSC, that does not compromise ecological stability. This allows you to enjoy life while also contributing to the future of our planet.Unlike plastic natural solid wood offers an unique grain patterns. Each lamp is like a piece of natural art, telling you stories of life and time.

【 Walnut Wooden Pattern Pendant Light 】 ELYONA pendant light fixture classic walnut wood pattern with black metal shade, gold tone interior for a vintage look.The retro pendant lamp adds a touch of modern and industrial feeling. Ideal for kitchen island, dining room, living room, office, coffee bar, bedroom, beside nightstand. Add this industrial looking to your home now!

Downrod Stiff Poles for oil rubbed bronze pendant light - this modern pendant light come with threaded straight rods in multiple lengths.And tilting swivel canopy for flat, vaulted or sloped ceilings up to 56" high.
7. Recessed Lighting
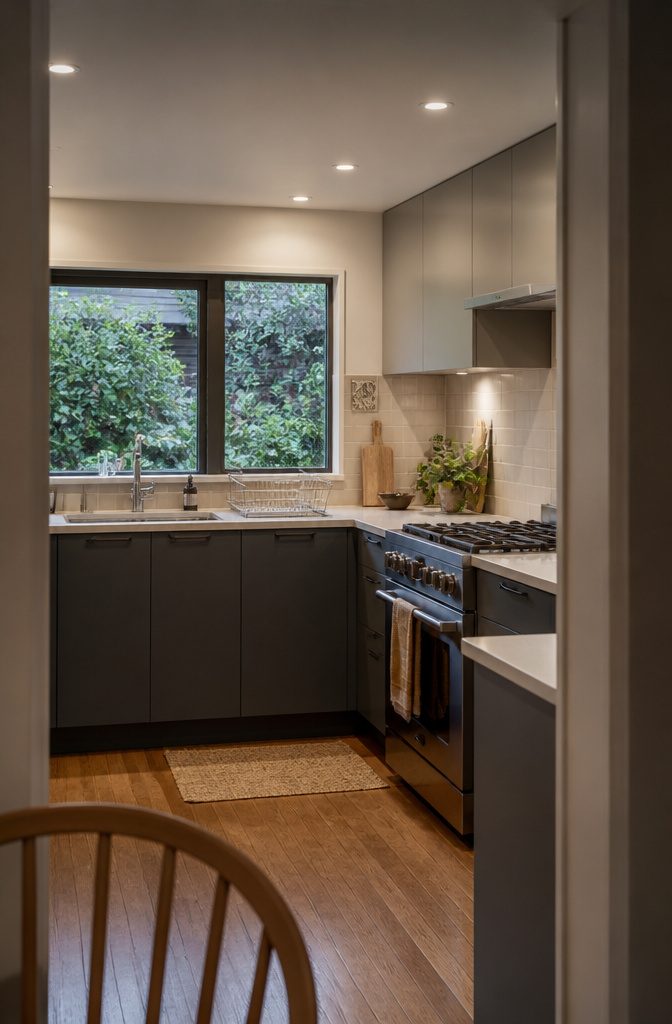
Recessed lights sit inside the ceiling, so nothing hangs down.
That makes them a good fit for a low ceiling or a small kitchen, where a pendant or chandelier would crowd the room. You see the light on the counter, not the fixture.
Use them in one of two ways. A grid across the ceiling lights the whole kitchen evenly.
A few fixtures placed over the sink, range, and prep counter cover the work areas. Aim task lights so they land in front of you at the counter, not behind, or your body will shadow the cutting board.
Integrated LEDs are the current trend. The light source is built into a slim fixture, so there are no bulbs to change, though a failed LED usually means replacing the whole unit.
Recommended Products

【 Modern Boho Woven Series 】Minimalist geometric design meet natural hand-woven, This pendant lights perfect complement to minimalist, modern, traditional, bohemian style. ELYONA 12” pendant works fabulously in kitchens, dining rooms, your hall way or foyer,restaurant. Bring the feeling of the outdoors, epitomize the serene feeling of a comfortable atmosphere. And add natural texture to every living space.

【 Modern Boho Woven Series 】Minimalist geometric design meet natural hand-woven, This pendant lights perfect complement to minimalist, modern, traditional, bohemian style. ELYONA 12” pendant works fabulously in kitchens, dining rooms, your hall way or foyer,restaurant. Bring the feeling of the outdoors, epitomize the serene feeling of a comfortable atmosphere. And add natural texture to every living space.

[Adjustable 3cct Pendant Lights]: Pendant Light Fixtures color temperature can be adjusted 3000K 4000K, and 6000K.You can also use the control button to quickly switch the light color (cool white light, neutral light, and warm white light).
8. Under-Cabinet Lighting
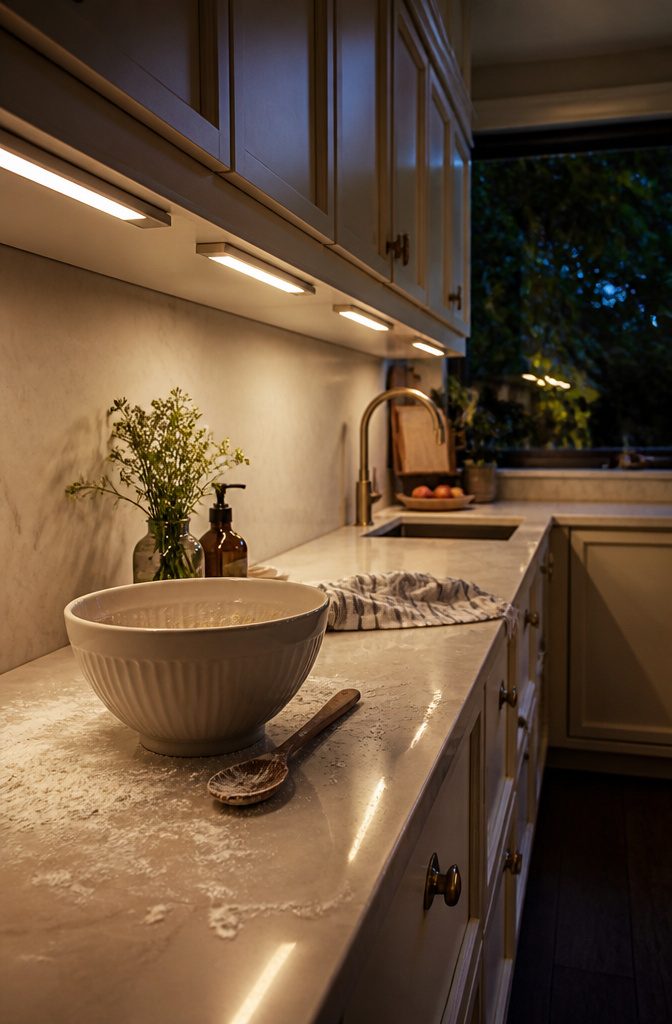
Under-cabinet lights sit beneath the upper cabinets and shine straight down onto the countertop, where chopping, mixing, and recipe reading happen.
A ceiling fixture handles that work poorly, because you block its light with your own body when you stand at the counter. Lighting from below the cabinets makes prep tasks more comfortable and improves visibility across the whole kitchen.
They also light up the cabinetry and counters, which adds a subtle decorative layer after dinner.
Choose dimmable LED fixtures so you can run them bright for cooking and low as a soft glow later. If your kitchen has upper cabinets, this is the first fixture worth adding.
Recommended Products

HAND-BLOWN HAMMERED SHADE DESIGN: This modern pendant light features a stunning hand-blown clear water ripple glass shade in a sleek teardrop shape. The hammered texture creates a mesmerizing light diffusion effect, casting soft, warm glows that elevate any kitchen island, dining room, or entryway.

【Unique Art Glass Patterns】This mini glass pendant light fixture is Hand-blown unique abstract blue pattern Art glass, due to its hand-made nature, each piece of blown glass will vary in color and pattern.

MODERN MINIMALIST STYLE — The Osimir pendant lights kitchen island features a matte black cylindrical metal with a cylinder milk glass shade, creating a cute and compact atmosphere. It is not just a modern pendant light, but also an art decoration. Choose one pendant or several to create a dramatic focal point in a room.
Layer Ambient, Task, and Accent Light
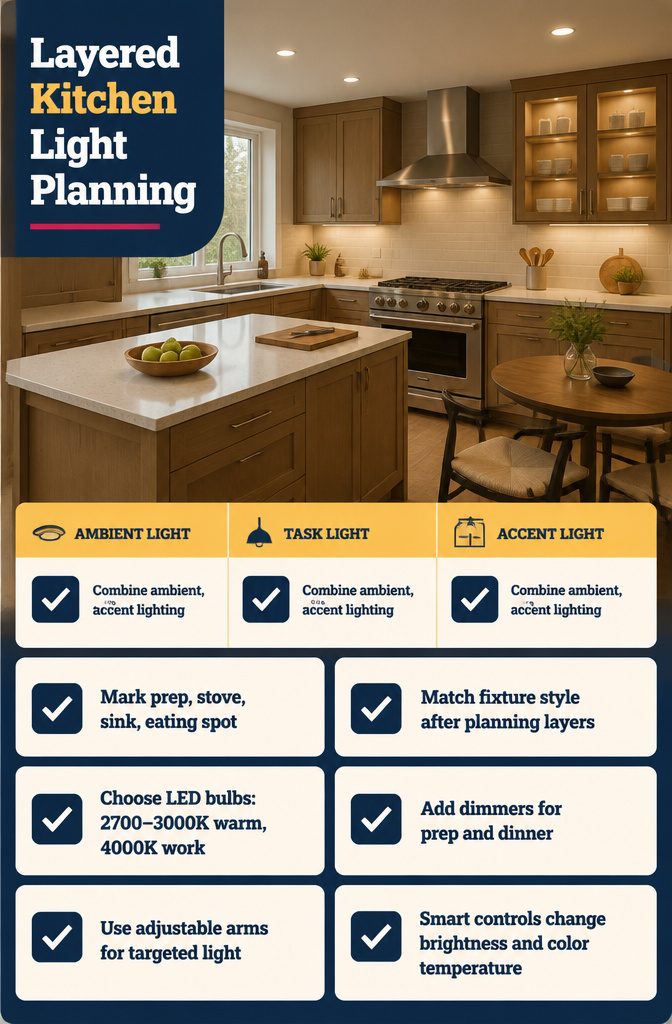
Kitchen light has to make chopping, cooking, and cleaning safe and visible, then shift to a softer mood when friends are over. Plan it in layers:
- Mark where light matters most in your layout: prep counters, stove, sink, and any eating spot.
- Combine all 3 types. Ambient light (recessed or flush mount) covers the room evenly, task light sits over work surfaces, and accent light highlights glass-front cabinets or dishes.
- Pick fixture finishes and shapes to match your style once each layer has a job.
- Choose LED bulbs. They use less energy and last a long time. Use 2700–3000K for a warm glow and about 4000K where you work.
- Add dimmers so one kitchen handles both a bright prep session and a quiet dinner.
- Look for adjustable arms where you need to aim light at a specific spot.
- Smart systems let you change brightness and color temperature without rewiring.
Recommended Products

Newly Upgraded LED Ceiling Light – Brighter & More Efficient: “How bright is it?” While most 13 inch LED ceiling lights struggle with only 1300–3000 lumens, our newly upgraded model delivers a blazing 4200 lumens at just 37W – enough to banish shadows and dark corners from any room up to 250 sq ft, from kitchens and basements to home offices and garages. Plus, it cuts energy consumption by up to 90% compared to traditional bulbs, so you get premium brightness without the premium electric bill

Sleek Modern Design: This contemporary flush mount ceiling light features a low-profile housing that sits neatly against the ceiling, ensuring smooth clearance for closet doors. Its durable metal frame comes in a brushed nickel finish, paired with a white plastic diffuser that evenly distributes bright, shadow-free illumination.

【Upgraded Design for Easy Installation】Our enhanced design makes installation a breeze! Follow the clear instructions in the manual to complete setup in just minutes. No special tools are required—only basic household tools. Enjoy hassle-free installation that anyone can manage, regardless of DIY skills
Install or Replace a Fixture
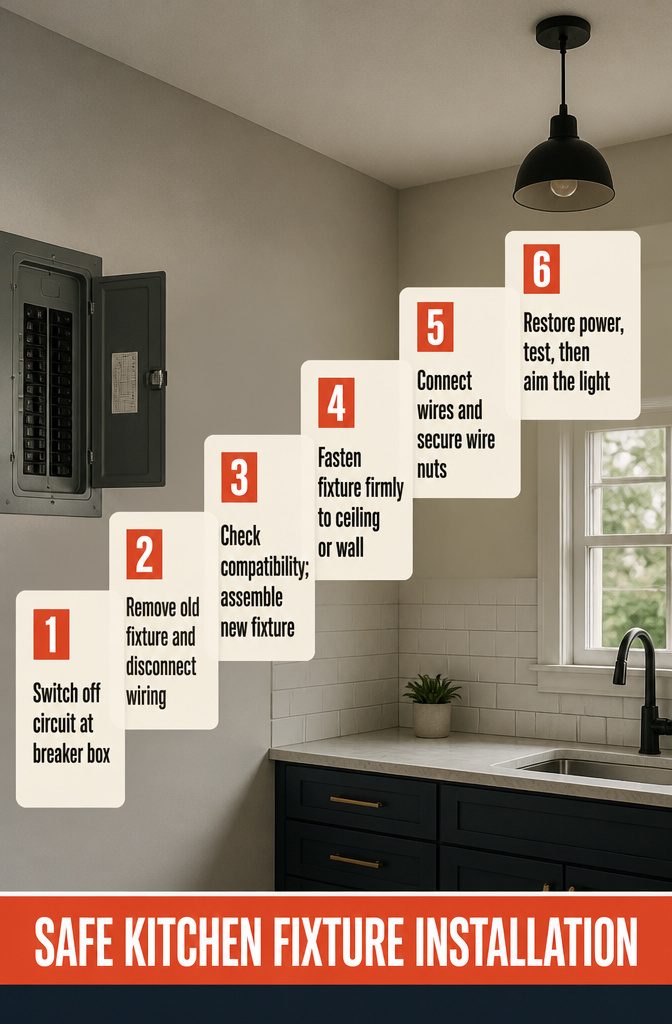
- Turn off the power to the kitchen lighting circuit at the breaker box, not just at the wall switch.
- If you’re replacing a fixture, take down the old one and disconnect its wiring.
- Check that the new fixture works with your existing wiring and mounting hardware. Assemble it following the manufacturer’s instructions.
- Mount the fixture to the ceiling or wall with screws or other fasteners, and make sure it sits firmly.
- Connect the fixture’s wires to the wiring in the ceiling or wall. Secure each connection with a wire nut.
- Turn the power back on at the breaker and test each fixture.
- Adjust the position or angle until the light covers the area you want.
Recommended Products

Modern Minimalist Style: Upgrade your home lighting with this mid century modern ceiling light fixture featuring a sleek cream metal drum shade and elegant brushed gold accents. The clean silhouette blends effortlessly with contemporary, mid-century modern, minimalist, and farmhouse decor styles. Designed as a stylish semi flush mount ceiling light, it creates a refined focal point while providing comfortable ambient illumination for bedroom living room dining room kitchen hallway and entryway.

Rustic Ceiling Light Design: A vintage design mixed with industrial and contemporary elements, oil-rubbed black finish, and clear high-quality glass shades. These foyer light fixtures complement any décor, which is perfect for kitchen, entrance, hallway, dining room, living room, laundry room, balcony, and more.

Contemporary Design: The farmhouse Semi flush mount ceiling light Adoption of hexagonal metal skeleton cover ,When the light is on, scattering elegant patterns across your ceiling, Add gorgeous color to your home
Frequently Asked Questions
What are kitchen lighting fixtures?
Kitchen lighting fixtures are the lights installed in a kitchen to give you enough light for work like chopping and cooking and to set the mood of the room.
Common types include pendants, mini pendants, ceiling lights, chandeliers, track lighting, recessed lights, and under-cabinet lights.
Why does kitchen lighting matter?
Good lighting lets you see what you are doing, whether you are chopping vegetables or reading a recipe, so the kitchen is safer and easier to work in.
It also lights up counters, cabinetry, and architectural features, and it gives the room a warm feel for family gatherings and guests.
What is trending in kitchen lighting fixtures?
Current favorites are statement pendants, mixed metal finishes such as brushed nickel with matte black, integrated LEDs, industrial exposed-bulb pendants, and smart systems that adjust brightness and color temperature without rewiring.
Integrated LEDs have no bulbs to change, but a failed one usually means replacing the whole unit.
How do I plan kitchen lighting?
Start by marking where light matters most, such as prep counters, the stove, the sink, and any eating spot. Then combine ambient, task, and accent light, and choose fixture styles once each layer has a job.
Use LED bulbs at 2700–3000K for a warm glow and about 4000K where you work, and add dimmers so the room suits both cooking and quiet dinners.
How do I install or replace a kitchen light fixture?
Turn off power to the kitchen lighting circuit at the breaker box, not just the wall switch.
If you are replacing a fixture, take down the old one and disconnect its wiring first. Assemble the new fixture per the manufacturer’s instructions, mount it firmly, and connect its wires to the house wiring with wire nuts.
Then restore power, test the light, and adjust its position or angle until it covers the area you want.